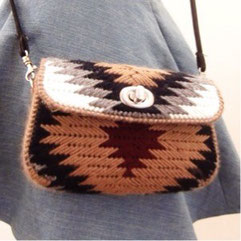
A couple years ago, I saw plastic canvases that were pre-shaped to make a small purse in a craft store, thought they were kind of interesting and decided to give it a try. I never used plastic canvases before, so I just winged it...
プラスチックキャンバスというもので作ったミニバッグです。既に形になっているプラスチックに模様を刺していくだけの簡単手芸。面白そうだったので挑戦してみましたが、やり方は自己流です・・・
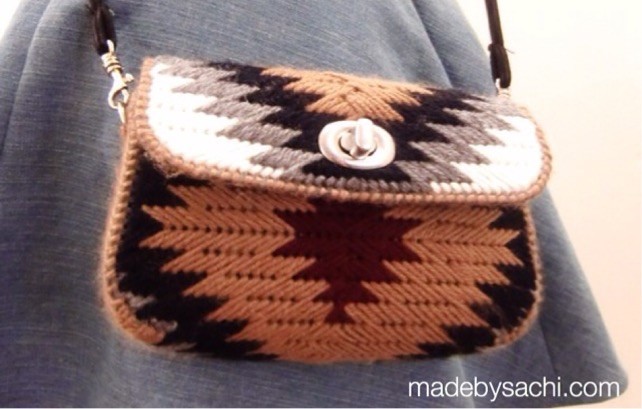
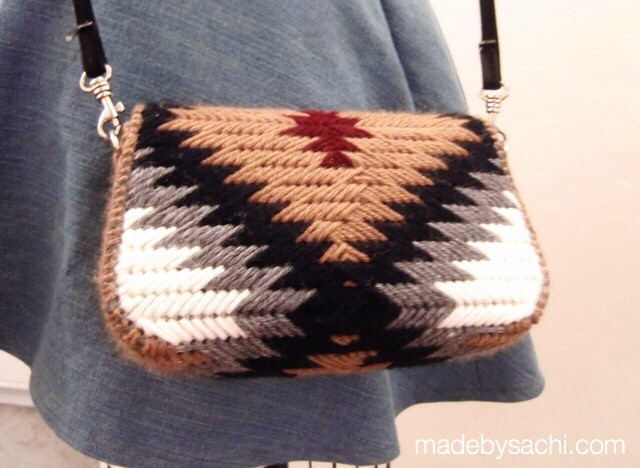
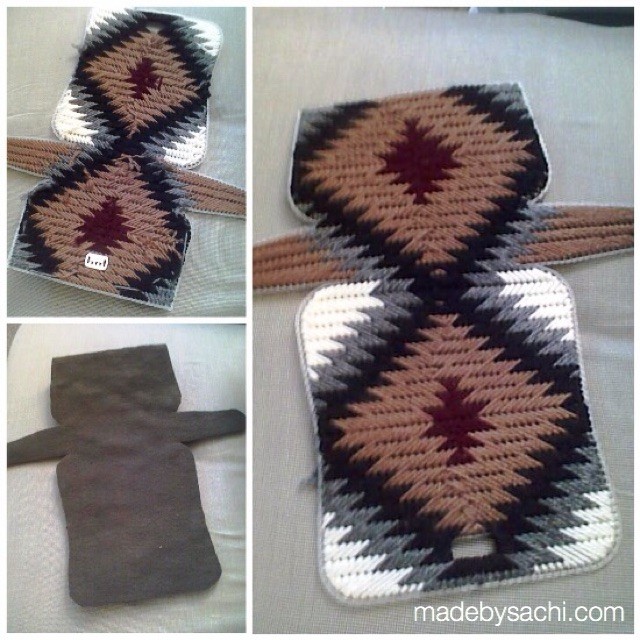
This is actually my second try. I didn't think about a closure when I started on the first one, and ended up using a toggle. While the toggle looked pretty cute, opening and closing was a pain. So, I planned ahead for the second one so that I could use a turn-lock.
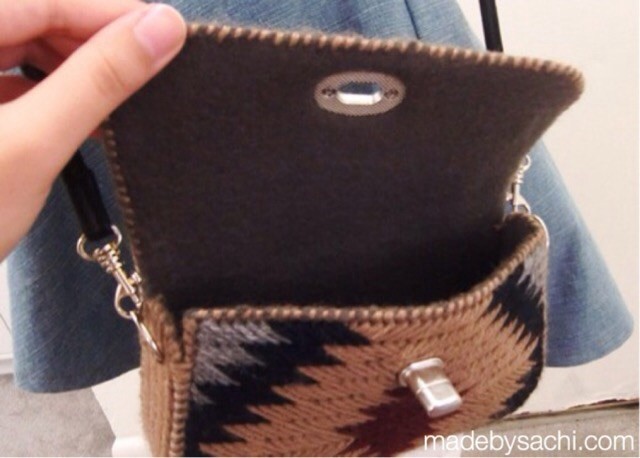
I lined the entire purse with a piece of fleece that I had on hand... just glued it to the wrong side of plastic canvas after stitching the design on.
Back of the purse...
Also, I stitched on D-rings on the sides to attach the strap (from another purse).
Here are some in-process photos..

適当〜に油性ペンで描いたパターンにそって毛糸で模様を刺していき、裏にはフリースを手芸用の糊で貼りつけてから、バッグの形に組み立てました。ターンロックをつけたところは、刺繍する前に穴を開けておいて、刺繍が終わってからつけました。
(このバッグ型については、数年前に日本で調べた時は、”ハマナカ副資材・プラスチックキャンバス” で検索したら、通販しているお店を見つけました。)
You might also like...


